Mastering Your Digital Camera: A Beginner's Guide to Basic Functions
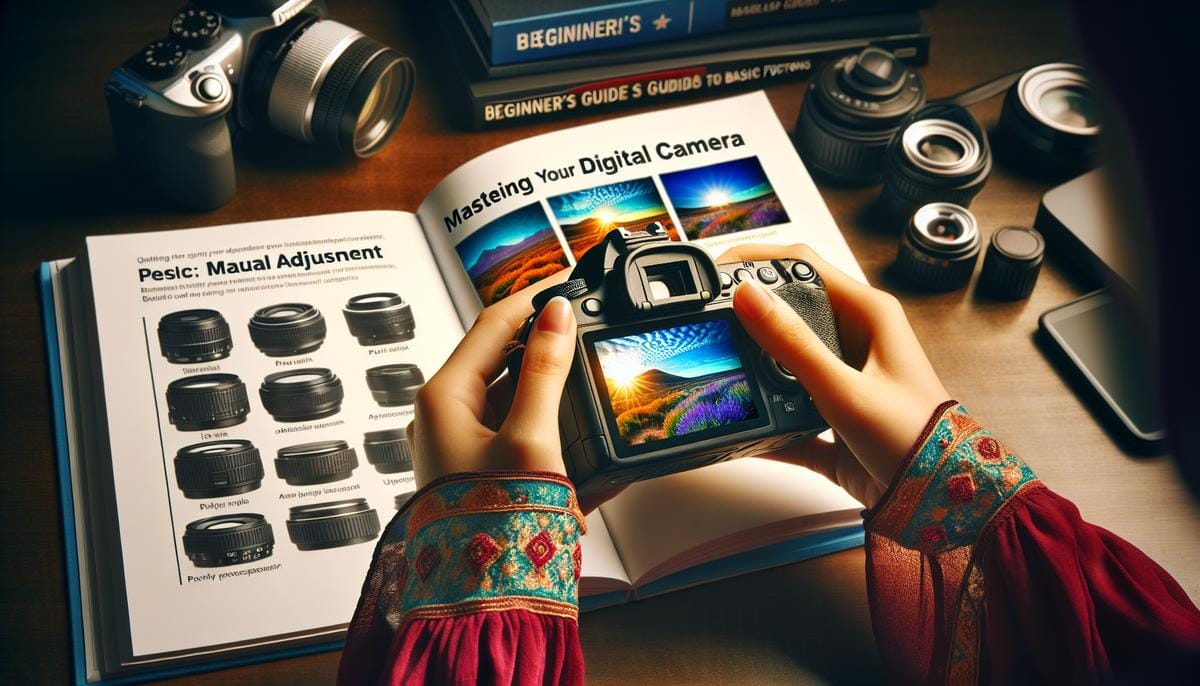
Welcome to our comprehensive guide designed for both camera newbies and those looking to brush up on their skills. In a world where capturing moments has become second nature, understanding how to use a digital camera effectively can still seem daunting. Fear not, as we're here to demystify the basics. Our guide is not only informative but sprinkled with entertaining insights to ensure a fun learning experience. So, grab your camera, and prepare to embark on a photography journey that will elevate your picture-taking game!
Getting to Know Your Camera
Every great photographer started by getting to know their primary tool – the camera. Think of your camera as an extension of your creative eye. The body of the camera is essentially the housing for the magic that happens inside. It consists of the lens, which acts like the eye of the camera, capturing the world as you see it. Then there's the shutter button, typically located on the top right, begging for a gentle press to snap a picture. Around the shutter button, you may find dials or buttons that control various settings – don't worry, we'll get to those.On the back, you'll likely see a cluster of buttons flanking a screen – this is your LCD monitor, where you'll previewimages. Most cameras also include a viewfinder, allowing you to compose your shot with the camera held close to your eye. It's particularly useful in bright conditions when the LCD screen might be hard to see. At the bottom, there's a battery compartment that often houses the memory card slot, too. Making sure you have a charged battery and sufficient memory card space is crucial before any photo session to avoid any premature end to your photography escapades.Now, hold your camera how it feels comfortable – some prefer a firm grip with both hands, one around the body and the other supporting the lens, while others might use camera straps for added security. The most important thing is stability and comfort to get the best shots possible.
Power On and Basic Setup
Excitement is in the air – it's time to power up your camera. Locate the power button, which usually has a universal power symbol. Upon first startup, most cameras will guide you through a basic setup process. You'll input today's date and time, choose your preferred language, and be introduced to the menu system.Remember, all these settings can be changed later, so don't fret about getting them perfect right now. Instead, focus on ensuring you have a charged battery – most cameras have an indicator on the screen showing battery life. It's also wise to format your memory card through your camera's menu to ensure it's ready to store your precious moments. Keep in mind that formatting will erase any previous data, so make sure to back up any existing photos!One more thing before you start clicking away – take note of the auto power-off setting. Cameras are designed to save battery by switching off after a period of inactivity, and you can usually adjust how long this is in the menu.
Focusing on the Viewfinder and LCD Screen
The viewfinder and LCD screen are your windows to the world of photography. When you peep through the viewfinder, you're isolating yourself from external distractions and focusing on your composition – it's just you and your subject. The LCD screen offers a larger, more comprehensive view and is exceptionally handy for reviewing details or when the viewfinder just isn't practical. Both can also display essential information about your settings, like your ISO, aperture, and shutter speed, but don't get caught up in those just yet. For now, practice switching your gaze between the viewfinder and the screen to see which you prefer using. You might find the viewfinder more immersive or the LCD screen more convenient, especially when shooting from awkward angles.Mastering focus is also crucial. Auto-focus is a godsend for beginners. Half-press the shutter button, and your camera should automatically focus on your subject. Look for the small square or circle that indicates what your camera is focused on – most cameras let you move this point around for precise focusing. If everything looks blurry, don't panic. Check if your lens is set to auto-focus mode – there's usually a switch on the lens itself. If manual focus is your thing, twist the focus ring on your lens until your subject sharpens. It's a skill that takes time to develop, but with practice, manual focus gives you ultimate control over your shot.
Exploring Shooting Modes
Now, let's dive into the heart of photography - the shooting modes. Your digital camera likely offers a dial labeled with various symbols representing different modes. 'Auto' mode is a safe starting point; it allows your camera to make all the decisions, adjusting settings automatically for the best shot. However, the fun begins when you start experimenting with other modes like 'P' (Program), 'S' (Shutter Priority), 'A' (Aperture Priority), and 'M' (Manual). Program mode is like auto, but gives you a bit more control over a few settings, perfect for when you're ready to dip your toes into manual adjustments. Shutter Priority mode lets you choose the shutter speed, leaving the camera to figure out the aperture, and is great for capturing motion - be it freezing a fast-moving subject or creating a smooth blur to convey speed.Aperture Priority mode is the reverse; you select the aperture (which affects the depth of field), and the camera sets the shutter speed. This mode is ideal for managing how much of your shot is in sharp focus. Want to highlight a flower with a soft background? Choose a wide aperture. A stunning landscape where every detail counts? Opt for a narrow aperture.And lastly, Manual mode is where your creativity fully takes the reins. You control both shutter speed and aperture, allowing for complete command over the visual effects in your photos. It can be intimidating at first, but with practice, manual mode can be incredibly rewarding. Remember to check if your camera also offers scene modes – these are preset modes calibrated for specific conditions, like night scenes or sports. They’re worth exploring as they can serve as a learning tool to understand how various settings affect your images.
Adjusting Exposure: ISO, Shutter Speed, and Aperture
Exposure is the amount of light that hits the camera sensor, and it's fundamental in photography. It might sound complicated, but once you grasp the basics of ISO, shutter speed, and aperture, you'll control the look and feel of your images.ISO measures the sensitivity of your camera's sensor to light. A lower number (like 100 or 200) means less sensitivity, which is perfect for bright days. Higher numbers of ISO are for dimmer conditions, but beware of the graininess, known as 'noise,' that can accompany these settings.Shutter speed dictates how long the camera's shutter remains open, exposing the sensor to light. Fast speeds can freeze motion, while slow speeds create blur, capturing the sense of movement. Shutter speed is usually a fraction of a second and can make the difference between a crisp image and a motion-blur maple.Aperture, meanwhile, refers to the opening in the lens through which light enters. It's denoted by 'f' numbers, like f/2.8, f/4, f/5.6, and so on. A lower number signifies a larger opening and more light, while higher numbers mean a smaller opening and less light. The aperture also affects the depth of field - the range of your image which will be in sharp focus. Playing with these three elements will help you to correctly expose your photos. Keep in mind the handy 'exposure triangle,' which helps to remember the balance between ISO, shutter speed, and aperture for the perfect exposure.
Playing with White Balance and Color
White balance is one of the less-understood aspects of photography but mastering it can transform your photos. It adjusts the color balance so that whites appear white under different types of light - be it the warm glow of a tungsten bulb or the cool shade on a cloudy day. If your whites are tinged with yellow or blue, or if the overall color tone feels off, tweaking the white balance is the key.Your camera likely offers preset white balance settings such as 'Daylight,' 'Shade,' 'Fluorescent,' and 'Tungsten.' These presets are a great starting point, but many cameras also have an 'Auto' white balance setting, which does a decent job of guessing the right setting. For the adventurous, manual white balance allows you to take a reading from something white under the lighting condition you're shooting in, providing a custom setting for accurate colors across your photos.Colors in your images are also subject to saturation and vibrancy settings; these can be adjusted within the camera for more punch or a subtler look, depending on your preference. Understanding how to control these settings can significantly impact your photography's emotional effect.
Reviewing and Deleting Photos
Every photographer takes a bad shot now and then. Reviewing your photos directly on the camera allows you to learn from your mistakes in real-time. Zoom in to check focus, exposure, and composition. Not every photo will be a keeper – and that's completely okay. Deleting the obvious failures can help save space on your memory card and keep your photo library tidy.To review, use the playback button, then navigate through your images with the directional buttons or dial. Most cameras have a 'delete' or 'trash can' button for quick removal of unwanted pictures. However, don't be too hasty in the field – some images that might look unsalvageable on your camera screen might be saved with a bit of editing magic once you're back at your computer.
Transferring Photos and Sharing with the World
Congratulations on capturing some stunning images! It's now time to transfer them from your camera to your computer or smartphone. This is usually done via USB cable, though many modern cameras have wireless capabilities to transfer directly to your devices.Once on your computer, you can further review your photos, keep your favorites, and possibly do some post-processing. Photo editing software can correct exposure issues, crop, enhance colors, and add filters. And when you're ready, share your images with the world! Whether it's uploading to a personal blog, social media, or a photography website, the joy of photography is in the sharing. You've crafted the moment, now let others see through your lens.But most importantly, remember to back up your photos regularly. Losing your work can be heartbreaking, so investing in reliable storage or cloud solutions will safeguard those precious memories and stunning creations.
That concludes our guide on the basic functions of using a digital camera. From the fundamentals of exposure to the nuanced control of white balance, you now have the knowledge to step out into the world and capture it through your lens. With practice, patience, and passion, each photo you snap will bring you closer to mastering the art of photography. Keep exploring, keep learning, and most of all, keep having fun. Happy shooting!