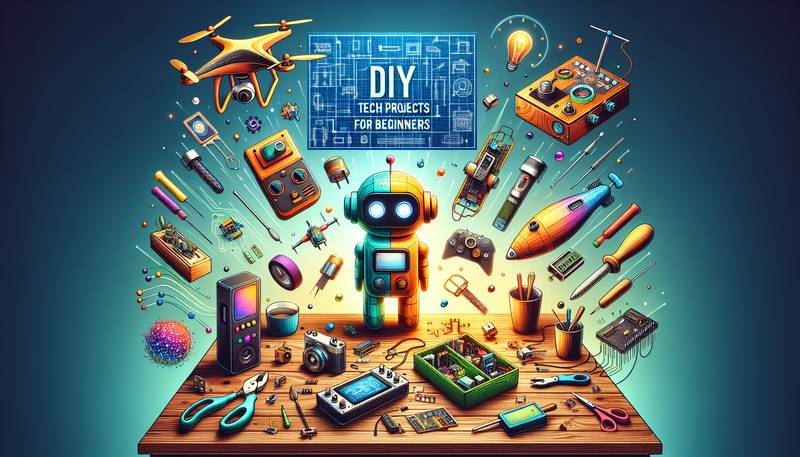
DIY Tech Projects for Beginners - A Starter Guide

Welcome to the exciting world of DIY tech projects! Whether you're a budding enthusiast or a seasoned tinkerer looking to brush up on the basics, there's no better time than now to dive into do-it-yourself technology. In this guide, you'll find step-by-step instructions on how to bring your creative ideas to life while learning valuable skills along the way. With a touch of patience and a dash of curiosity, you'll discover that building your own tech projects from scratch is not only rewarding but also a whole lot of fun. So, grab your toolkit, roll up your sleeves, and get ready to embark on a journey that will enhance your understanding of technology and its limitless possibilities. Let's get started!
Getting Started with DIY Tech
The first step in your DIY tech adventure is to assemble your toolkit. Depending on what projects you're interested in, your tools may vary, but there are a few essentials that all beginners should have:
- A good quality soldering iron: This tool is used for joining electronic components together and is essential for many DIY tech projects.
- A set of screwdrivers: Phillips and flathead screwdrivers in various sizes will come in handy for assembling and disassembling your creations.
- Wire cutters and strippers: These are crucial for working with wires, which is a common task in many tech projects.
- A multimeter: This device measures electrical properties like voltage, current, and resistance, helping you troubleshoot your projects effectively.
- A breadboard: Ideal for prototyping, a breadboard allows you to test out your circuits before soldering them permanently.
- Assorted electronic components: Components like resistors, capacitors, LEDs, and microcontrollers are the building blocks of your projects.
Once you've gathered your tools, it's time to find a well-lit and spacious workspace. A clean, organized environment will not only keep your components and tools in order but will also prevent unnecessary mistakes and accidents.
Build Your Own LED Light Show
Light up your world with a custom-made LED light show! This project is a fun way to get started with basic electronic circuits and programming. Here's what you'll need to create your dazzling display:
- LEDs in various colors
- Resistors to protect your LEDs
- Arduino microcontroller (or a similar programmable board)
- Breadboard for prototyping
- Jumper wires to connect everything
- USB cable to upload your code
First, you'll set up your circuit by connecting the LEDs to your breadboard with the appropriate resistors in series to ensure you don't burn them out. Then, utilizing the jumper wires, you'll connect your breadboard to the Arduino.Next comes the fun part - writing the code that will control your LEDs. Even if you've never coded before, there are plenty of online tutorials and communities to help you get started. Most microcontrollers use a language called C++, which is beginner-friendly and well-documented.Once you've uploaded your code via the USB cable, your LEDs will start to light up in the pattern you've programmed. From a simple blinking effect to a complex light show synced to music, the possibilities are endless!Feel free to experiment with different colors and sequences to create a light show that is uniquely yours. This project will not only teach you the basics of electronics and coding but also give you a flashy way to demonstrate your new skills.
DIY Home Automation
Imagine controlling various aspects of your home with just a click or a voice command - that's what home automation can offer. In this project, you'll learn to create a basic home automation system that can operate lights, fans, or any device you choose.You will need:
- An Arduino or similar microcontroller
- Relay modules to control high-powered circuits
- Sensors (like motion sensors or light sensors)
- Wi-Fi module (like the ESP8266) for wireless control
- A smartphone or computer
Before diving into building your system, it's important to understand how relays work. These electronic switches allow your low-power microcontroller to control high-power devices safely. Ensuring you have a strong grasp on this will keep both you and your project safe.Begin by setting up a circuit using your microcontroller, relays, and sensors on a breadboard. With simple logic, you can program your system to react just how you want it to - turn on lights when it gets dark, activate a fan when the temperature rises, or send you a notification when motion is detected in a room.Next, by incorporating the Wi-Fi module, you can connect your system to the internet. Write a bit of code to allow for smartphone or computer control, and you've got yourself a smart home prototype! Remember to keep safety in mind when working with high-powered devices, and always check your connections before turning on the power.
Build a Simple Robot
Robots are fascinating creations, and building one from scratch can be a highly engaging project. To create a basic robot that can move on its own, you'll need:
- A chassis with wheels and motors
- An Arduino or similar microcontroller
- Motor driver to control the robot's movement
- Battery or power supply
- Sensors for object detection or navigation
The chassis serves as the body of your robot, with the motors attached to the wheels to propel it forward. Once you've got your robot's body set up, the next step is programming the microcontroller to control the movement.
Creating a Portable Phone Charger
In a world where being connected is more important than ever, having a dead phone can be a major inconvenience. That's where a DIY portable phone charger comes in handy. This project will not only teach you about battery management and electrical circuits but also leave you with a nifty gadget that's useful in everyday life.
- A rechargeable lithium-ion battery
- A battery management/charging module
- A boost converter to step up the voltage
- A USB port to connect your phone's charging cable
- An enclosure to house your charger
Start by connecting your lithium-ion battery to the battery management module, ensuring that it can be safely charged and discharged. The management module is crucial because it prevents overcharging, which can be dangerous.Next, add the boost converter. This small circuit steps up the voltage coming from the battery to the 5 volts needed to charge your phone. Finally, attach a USB port and connect everything together. Once your circuit is complete, you'll want to place it into an enclosure to keep it safe and portable. You can 3D print a custom case, or get creative repurposing containers you have lying around!With this project, not only will you have a trusty charger that's sure to be a conversation starter, but you'll also gain valuable insights into power management and circuit design.
DIY Audio Amplifier
For the music enthusiasts out there, a DIY audio amplifier is a perfect project to improve your listening experience. This initiative introduces you to the principles of sound amplification, and you'll end up with a practical device that can be used with your sound system.
- An operational amplifier (Op-amp) integrated circuit (IC)
- Resistors and capacitors for the circuit
- A power supply (battery or DC adapter)
- An audio input jack
- Speakers or headphones
Begin by understanding how an Op-amp works – it takes a small audio signal and amplifies it for output. Designing your circuit, you'll arrange the resistors and capacitors around the Op-amp to get the desired amplification and filter out any noise.Connect the audio input jack where you'll plug in your music source, and the power supply, which will give your Op-amp the boost it needs.Once everything's soldered onto a printed circuit board or a breadboard for testing, hook up your speakers or headphones to the output, and give your new amplifier a whirl. You'll be amazed at how much richer and more full-bodied your music sounds!
The Final Touch: Documentation and Sharing
One of the most important, yet often overlooked, aspects of DIY tech projects is documentation. Writing down your process, challenges, and solutions not only helps solidify your understanding but also aids others who may want to follow in your footsteps.Take pictures, draw schematics, and write detailed notes as you build. Once you're done, consider creating an online walkthrough or a video guide. Share it on forums, social media, or video platforms. You never know who might find your project inspiring - your work could be the launching pad for someone else's innovation.The DIY tech community thrives off of shared knowledge and collaborative spirit, and contributing your insights is a rewarding experience that can cement your role in this vibrant ecosystem.
Conclusion
Embarking on DIY tech projects is a journey full of learning, challenges, and triumphs. Starting from the fundamental principles of electrics and coding to creating something functional and unique - the process is as rewarding as the end result. Remember, every expert was once a beginner, and every complex project was broken down into basic steps. The key to success lies in persistence and the willingness to learn from both successes and failures.So go forth, brave DIYer, and make your mark on the world of technology. Whether you're lighting up a room with a dazzling LED display, controlling your home with smart automation, building a roaming robot, creating a compact charger, or amplifying your favorite tunes, the possibilities are endless.Keep innovating, keep creating, and most importantly, keep sharing your knowledge with the world. The next great breakthrough in technology starts with your imagination and a can-do attitude. Happy building, and may your DIY projects light up the world in ways you never thought possible!


